Manual Entry
What is Manual Entry?
Manual entry lets you type in expense details yourself. You fill in the merchant, date, and individual line items with prices and categories. It's the most direct way to log an expense and works for situations where you don't have a receipt to scan or don't want to use voice.
This is a free feature with no limits. You can log as many expenses as you want without a subscription.
How to Enter an Expense Manually
Start a new expense
Tap the + button on the home screen and select Manual Entry.
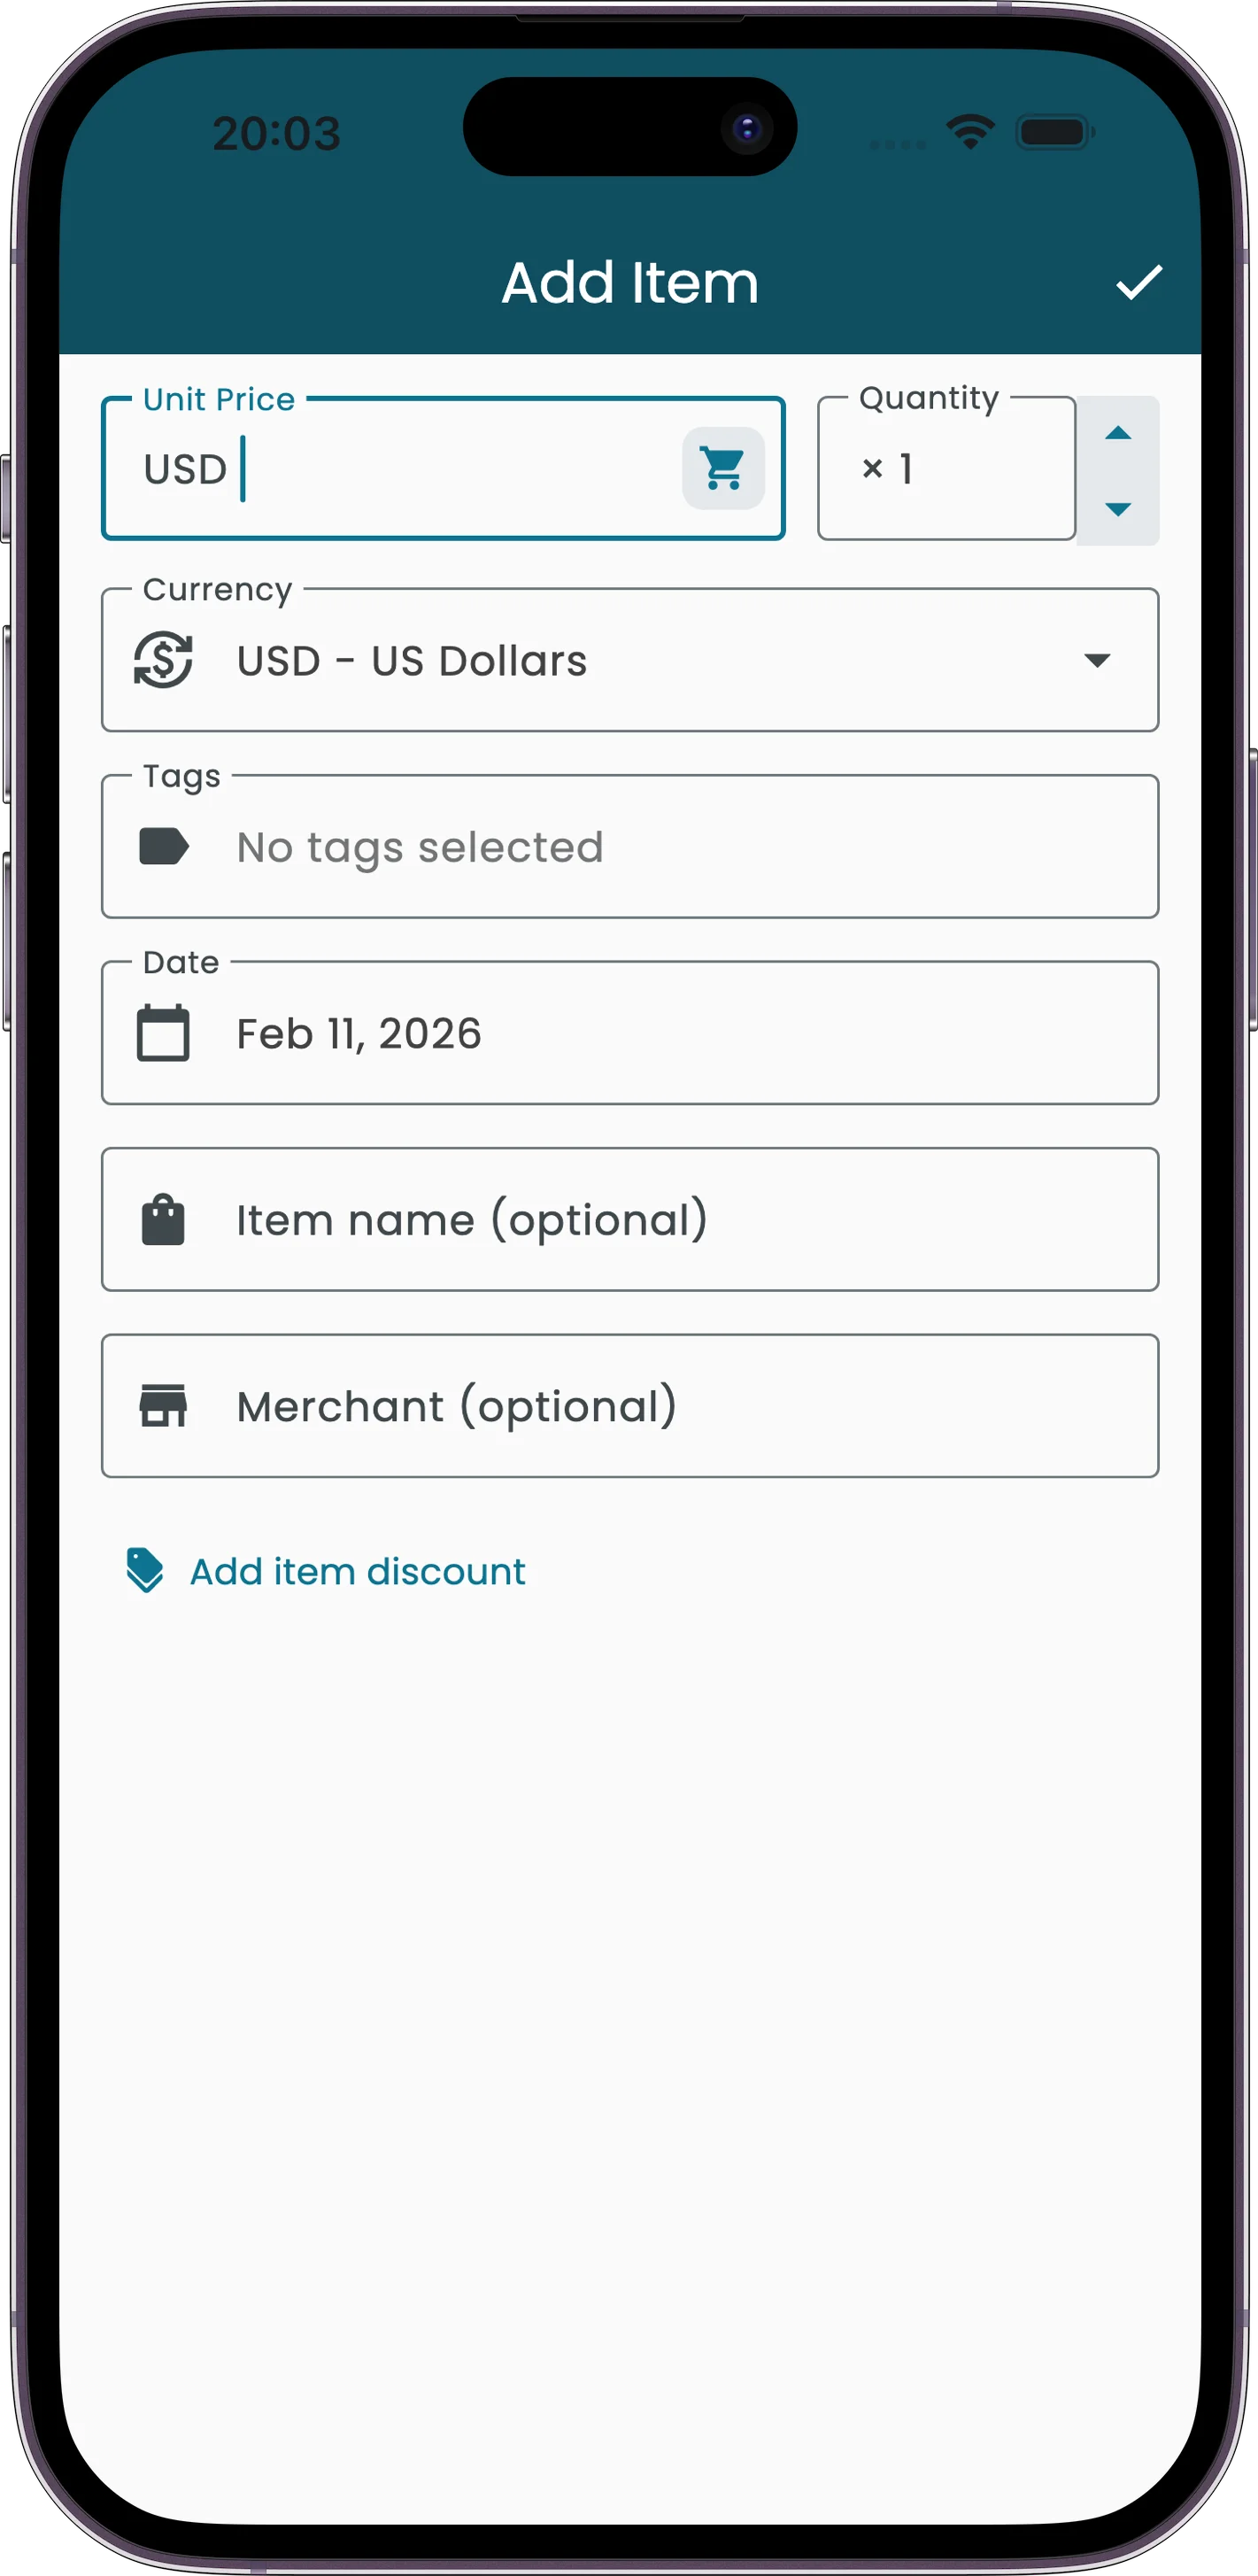
Fill in the header
Enter the merchant name, pick a date using the date picker (future dates are not allowed), and select the currency. The currency auto-detects based on your recent receipts or the active project's default.
Add line items
Each item needs a name (required), quantity (supports decimals like 1.5), unit price, and a category (chosen from 27 built-in categories). Add as many items as you need.
Add discounts (optional)
Apply a discount to individual items, or set a receipt-level discount that distributes proportionally across all items.
Tag it (optional)
Attach up to 10 tags per receipt for filtering and organization. Tags like "Business", "Reimbursable", or "Trip" help you find expenses later.
Save
Review the total and tap save. The expense is added to your home screen and synced to the cloud.
Field Reference
| Field | Required | Details |
|---|---|---|
| Merchant name | No | The store or business name |
| Date | Yes | Defaults to today. Cannot be a future date. |
| Currency | Yes | Auto-detected from recent receipts or project default |
| Item name | Yes | What you purchased |
| Quantity | Yes | Supports decimals (e.g., 1.5 kg) |
| Unit price | Yes | Price per unit. Negative values allowed for refunds. |
| Category | Yes | One of 27 built-in categories |
| Item discount | No | Per-item discount amount |
| Receipt discount | No | Applied proportionally across all items |
| Tags | No | Up to 10 custom labels per receipt |
Tips & Details
Validation Rules
The total can't be negative. Refund items (those with a negative price) can't have discounts applied to them. The app enforces these rules and will show an error if something doesn't add up.
Two Kinds of Discounts
Item-level discounts reduce the price of a specific item. Receipt-level discounts apply a flat amount distributed proportionally across all items based on their share of the subtotal.
Currency Auto-Detection
The currency field defaults to whatever you used on your most recent receipt, or the default currency of the active project. You can always change it manually.
27 Built-In Categories
Each line item gets assigned to one of 27 fixed categories. These categories are the same ones used across all expense types, keeping your reports consistent whether you scan, type, or speak.