Sometimes You Just Need to Type It
No receipt? Cash purchase? Just want to get it logged? Tap the amount, pick a category, and hit save. That's it. The whole thing takes less than ten seconds.
Manual entry is the starting point for anyone new to expense tracking, and it stays useful even when you're using the AI features for everything else. Your first expenses are free; Premium lifts the limit.
Free. No Catch.
Manual entry is there from the first day. Your first expenses are free — Premium lifts the limit when you're ready.
Why Manual Entry
Fast
Amount, category, save. Under ten seconds. No waiting for AI processing, no camera, no nothing.
No Receipt Needed
Cash purchases, tips, vending machines, splitting a cab — the stuff that doesn't come with a receipt.
Works Offline
On a plane? In a basement? No signal in the mountains? Log it anyway. It syncs when you're back online.
Simple on Purpose
No learning curve. Open the app, enter the number, pick the category. Anyone can use it on day one.
How It Works
Tap +
Hit the add button on the home screen.
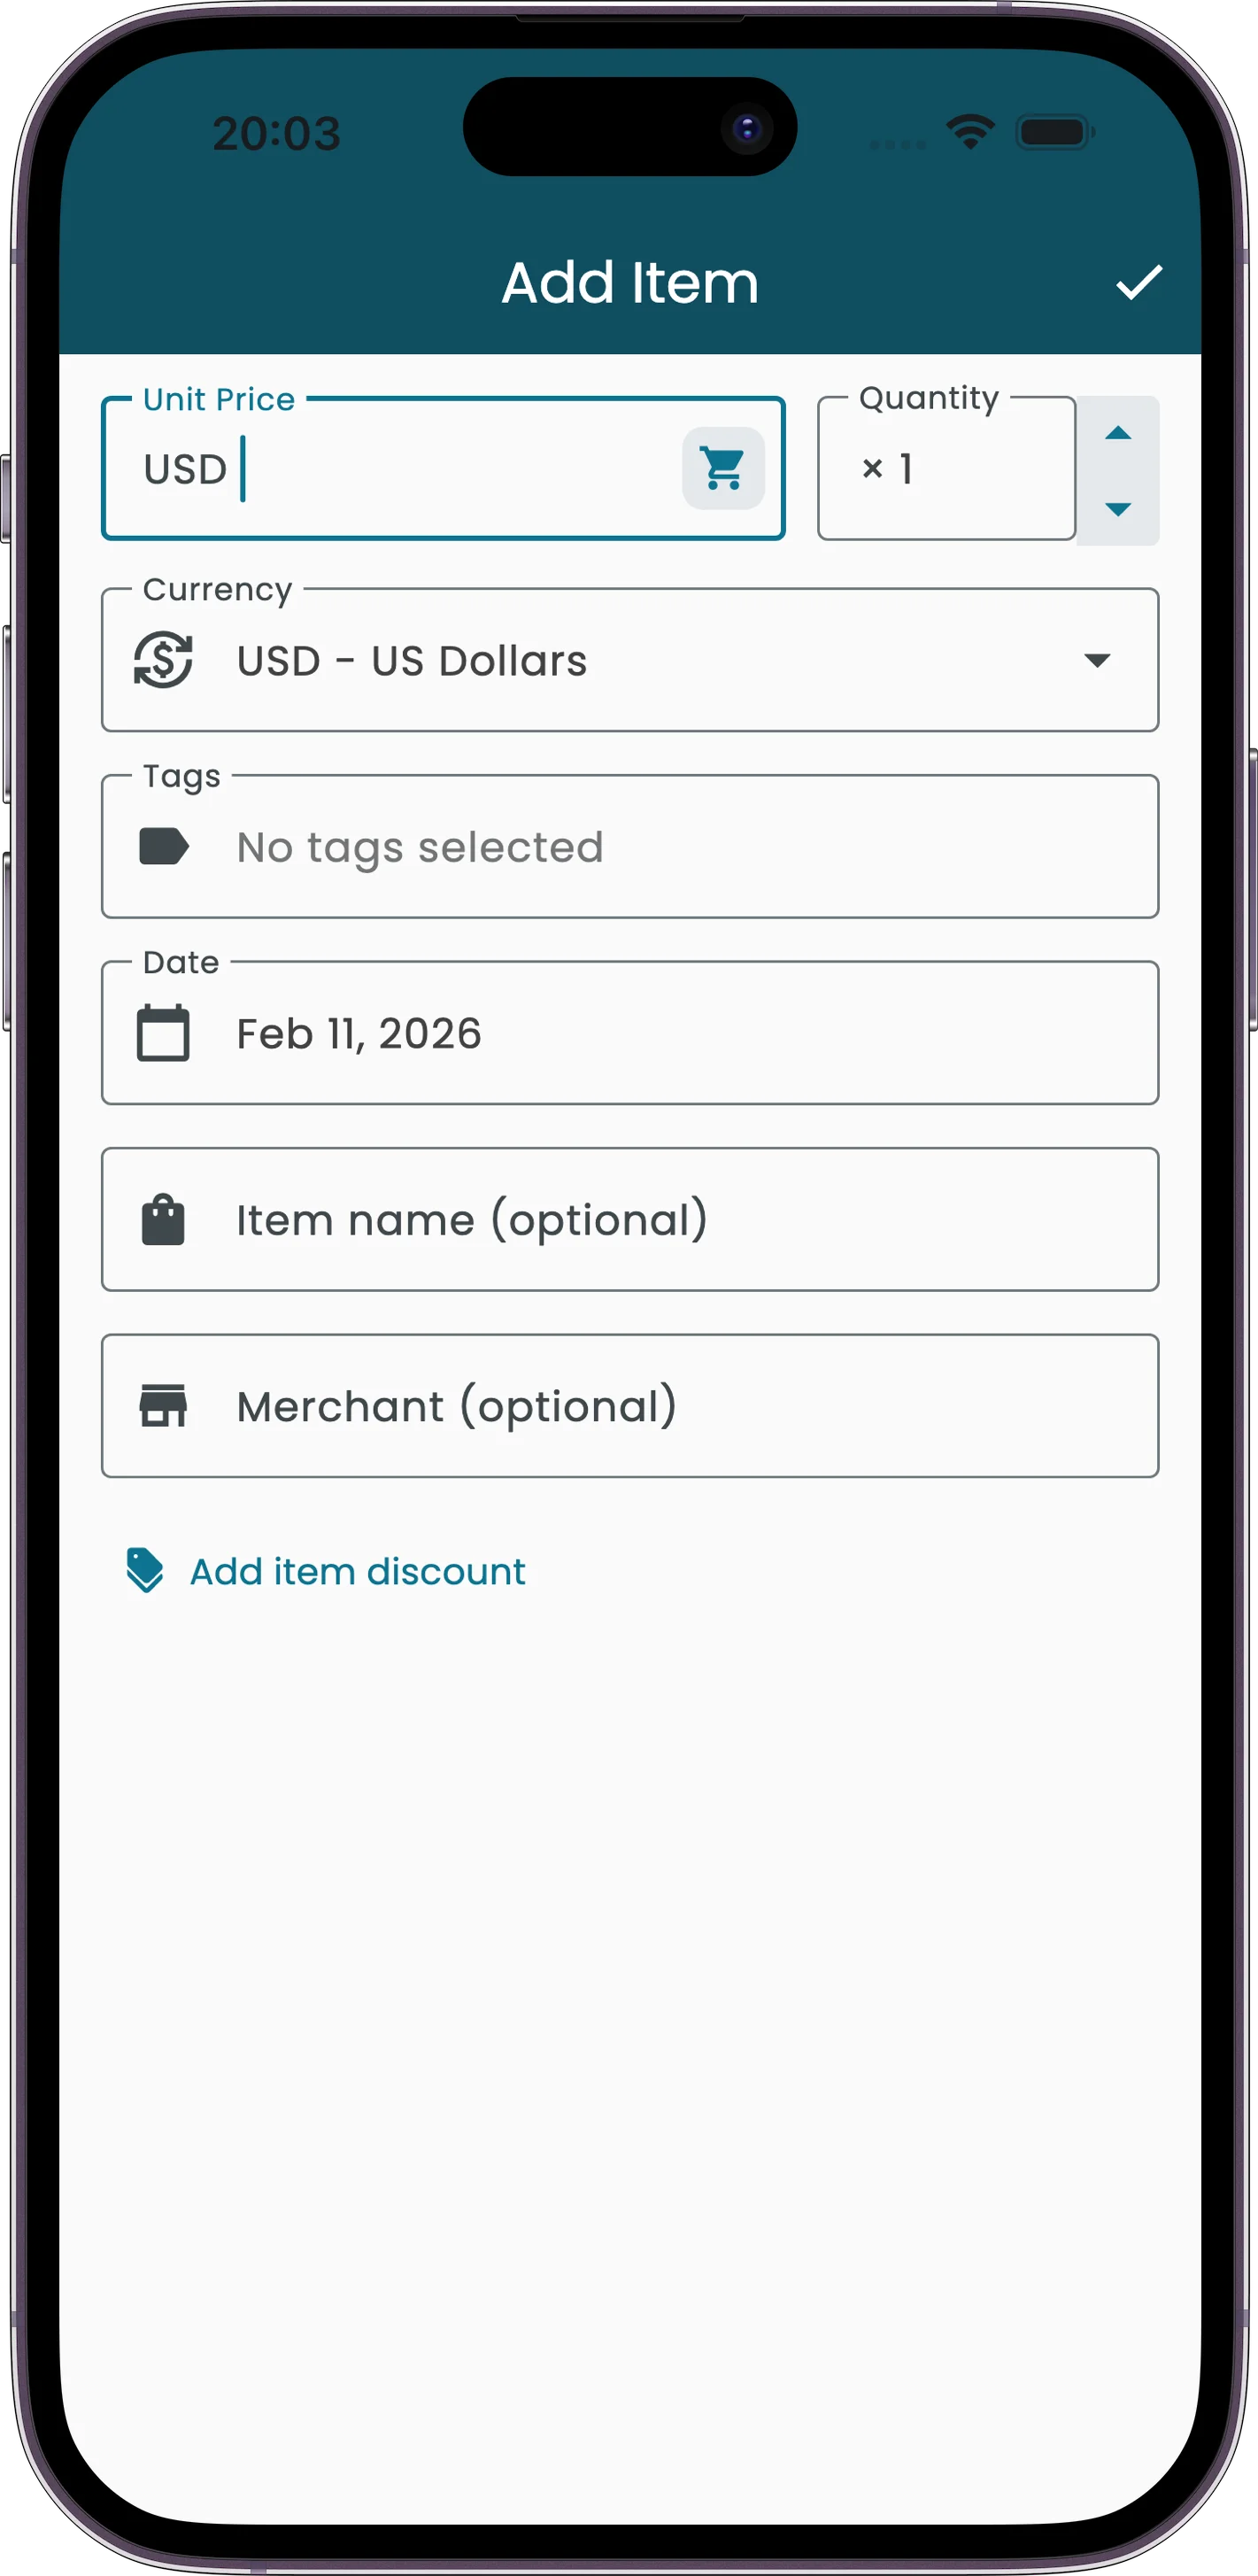
Enter Amount
Type the number. Pick the currency if it's not your default.
Pick Category
Choose from the list. Food, transport, shopping — it's all there.
Save
Done. Expense recorded.
Add More If You Want
Amount and category are all you need. But you can also add:
Merchant
Where you made the purchase
Date
Defaults to today, but adjustable
Tags
Custom labels like "Business" or "Reimbursable"
Notes
Any extra context to remember
Want It Even Faster?
Manual entry works great. But if you want to skip typing altogether, receipt scanning pulls everything from a photo, and voice mode lets you just say what you spent. Both include auto-categorization.